E-Bikes & Bikes Customised to You

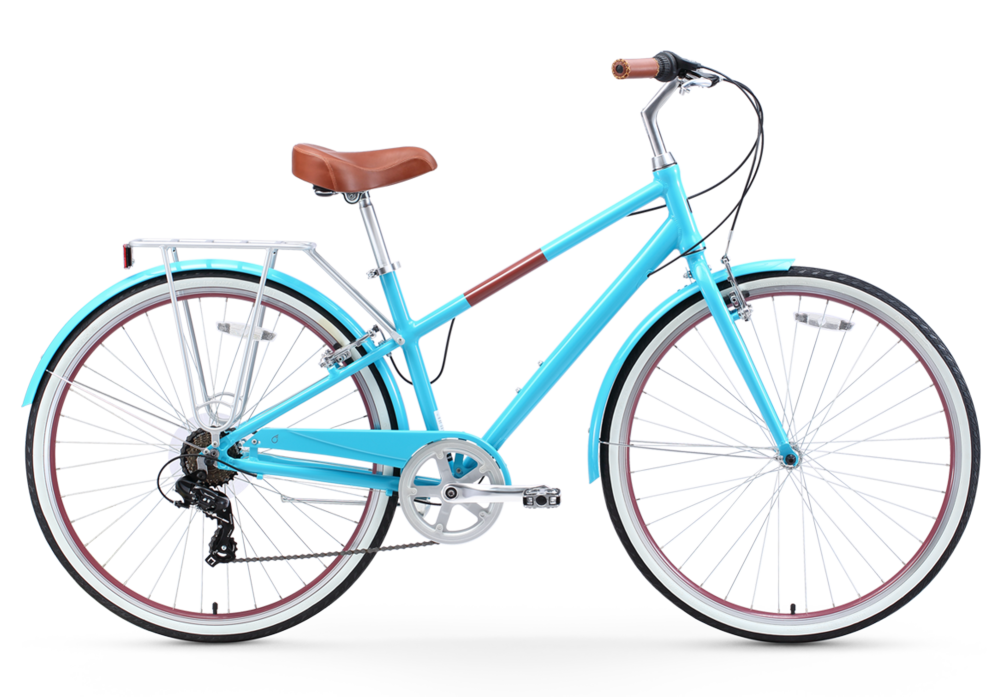
Reach Your Destination Women's
--,
Reach Your Destination Women's
--
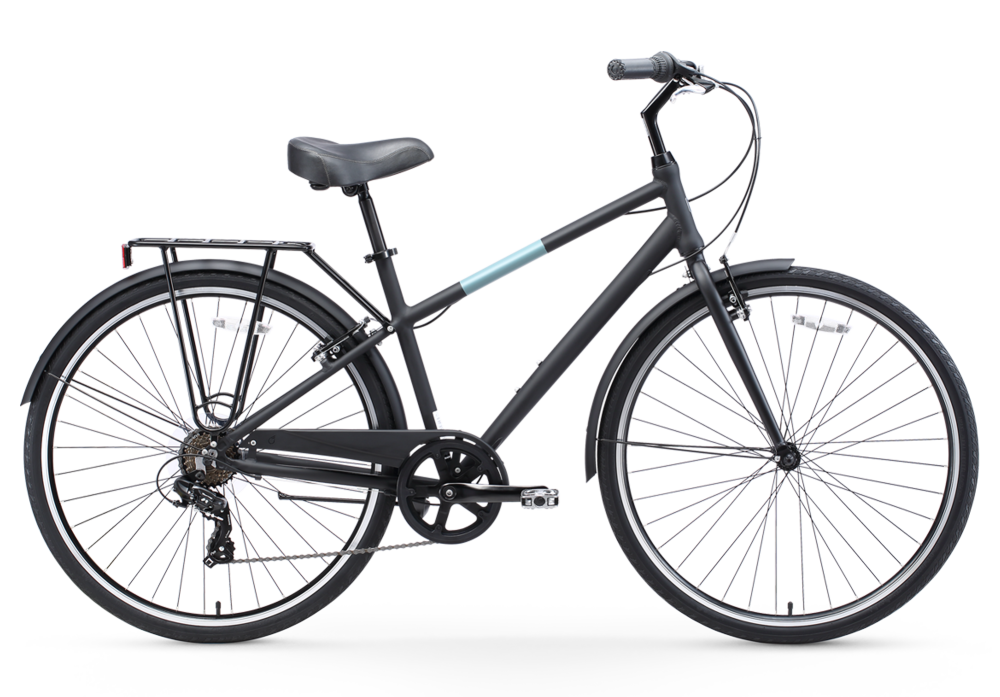
Reach Your Destination Men's
--,
Reach Your Destination Men's
--
If you’re ready to get rid of the backpack that just bogs you down when you’re riding, it’s time to install a back bike rack. Back bike racks, or rear bicycle racks, give your water, clothes, lunch or whatever else you’re carrying around its own place on your bike so your back stays comfortable and free to maneuver how you need it to.
Whether you’re riding to the store to pick up groceries or commuting to work and have your dress shoes in tow, you can enjoy a better trip with a back bike rack for your items.
Installing a bike rack isn’t hard; it just takes a bit of attention to detail and some time. So get out your tools and set aside 20 minutes or so, and then outfit your bike with one of the best rear bike racks around – one of the ones we sell at sixthreezero.

Evaluate Your Bike and Bike Rack
Before installing a bike rack, give your bike and rack a once over and get familiar with the parts and equipment you’ll be using. Grab your screwdriver, allen keys and a 6mm wrench that help you tightly secure your rear bike rack to your bicycle.
Attach the Bike Rack Arms
Begin attaching your bike rack by securing the 2 sliding arms underneath the rack. Don’t tighten them all the way, as they’ll need some play as you get everything attached correctly. Just twist them on enough so they’re hanging on and not falling all over.
Mount the Rack to the Bike’s Rear Dropout Eyelets
You’ll need to figure out what size bolt you need and the size will depend on your bike. Most frames, however, use the same size bolts for all accessories, so chances are you’re familiar with what you need already. If you find you’re missing the bolts for your rack, you can always take one off of a bottle holder or some other peripheral item that you’re not using. Give a good tightening to the bolts securing the rack to the eyelet holes on both sides of the bike. Again, don’t tighten too much, but secure them just enough so they’re level.

Level the Rack
It’s time to get your rear bike rack good and leveled. A tilted bike rack looks sloppy and it’s not a secure place for your belongings. Adjust the rack at the eyelets until it’s perfectly level. Use a regular level or a level app on your phone. Now, tighten the eyelet bolts to lock the bike rack into its final position.
Hook Up Adjustable Arms to Your Seat-Stay Mounts
Slide the adjustable arms in or out of the bike rack until they are the perfect length to reach the seat-stay bolds. Bend the arms down until you see that the holes at the end of the arms are alighted with the bolts. Some bikes don’t have mounting in this spot, so p-clamps and additional bolts may be necessary to build a mountain apparatus.
Install the Rack at the Seat Stay
After the arms are in the right position, it’s time to tighten them onto the mounts or makeshift mounts. Now is a great moment to tighten up the adjustable arms.
Adding a Reflector or Light Mount
You don’t have to add a reflector or light mount, but many riders do if their bike racks encroach on safety lights installed on the bike. You’ll want to make sure people coming up behind you can see you, even with your bike rack installed. Brackets under the rear of a bike rack make it easy for you to add a reflector or light mount.

That’s it! You’ve successfully installed your bike rack and you’re ready to travel effortlessly, or near effortlessly depending on your terrain. Need a bike to install a bike rack to? sixthreezero has great beach cruiser bikes and commuter bikes that are perfect for traveling on weekend jaunts or to work during the week.
Need ideas for places to ride? Join our Journey Club to uncover new and exciting ride locations around the globe!
Fit
97% of customers that use our proprietary fitting system love their bike.

Get Fitted In Under 2 Minutes
Log in to view your previous quiz results and save new results.
97% of customers that use our proprietary fitting system love their bike.
Get Fitted In Under 2 Minutes
Log in to view your previous quiz results and save new results.
